Purpose
Multiple customers use the links to our dashboards. For example, all of Virbela’s European customers use app-eu.virbela.com. Since Virbela does not know what campus a user can access until they log in, Virbela cannot allow users to register through the dashboard.
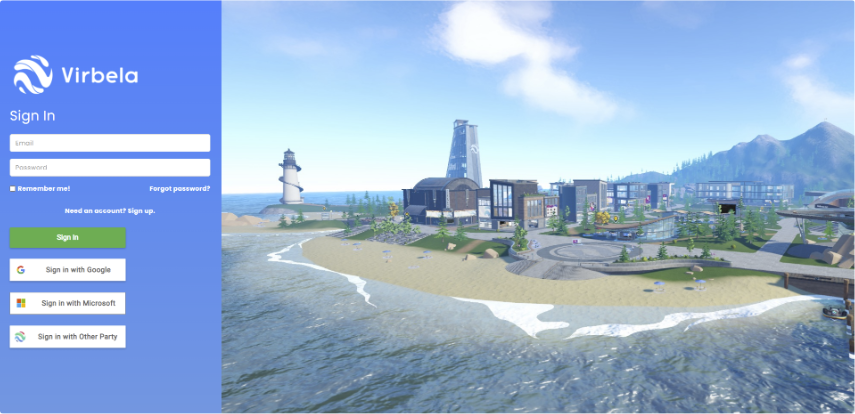
To solve this problem, Virbela is introducing a new way for customers to create custom landing pages. This means users will receive a link to a specific campus’s landing page and can then log in or register for that particular campus. Once logged in, users will see the same Virbela dashboard as they have seen in the past.
Customers can then send this link to guests on the campus. It also works nicely with the Campus Stream product, ensuring users can register and launch Virbela Campus Stream without downloading the campus.
Users can still access the dashboards using the existing links (e.g., app-eu.virbela.com, app.virbela.com, app-aus.virbela.com).
Setting up a custom landing page
Customers who want their custom landing page should contact their account manager first. After doing so, Virbela can set up a landing page. There is no cost, and no release is required.
Customers can then create a custom URL path for their campus. The URL domain is the same as the campus’s dashboard. The landing page will look like this:
app-eu.virbela.com/world/{CustomName}
So, if a customer chooses VirbelaWorld as their Custom Name path, users can access the landing site at app-eu.virbela.com/world/VirbelaWorld.
Virbela also creates a path using the official world name (e.g., http://app-eu.virbela.com/world/{OfficialWorldName} ).
The paths are case sensitive, meaning if a customer sets their path to http://app-eu.virbela.com/world/VirbelaWorld, entering http://app-eu.virbela.com/world/virbelaworld in the browser will take the user to an error page.
Customers can disable the path or modify the path at any time. If the customer creates a new path, the old path will no longer work.
How users can access the site
The landing site will look very similar to the standard dashboard site. Two things are different. First, if SSO is enabled, users will only see the single sign-on (SSO) option for the specific campus. Second, users will have the option to register for that campus if the campus allows registration.

The registration process is identical to the process in the application. Alternatively, new users can sign in through their SSO and bypass the registration process.
If the campus does not allow registration, users can only log in after receiving an invitation to the campus.
If the campus has email verification enabled, new users will have to validate their email before they can proceed. If the user signs in through SSO, their email is automatically validated.
Existing users can either sign in with their user name and password or through SSO.
